How to create Barcode Generator in Laravel?
Hello Coders,
Today, I will show you a detailed guide on how to create Barcode Generator in Laravel? In this tutorial, you will learn how to create Barcode Generator in Laravel? Here you will learn how to generate barcode in laravel.
You can generate barcode easily in laravel 5, laravel 6, laravel 7, laravel 8, and laravel 9 versions.
We will use a composer package to generate barcode in a laravel application. You can generate barcode in svg, png, jpg, and html format.
So let's get started.
Step 1: Install Laravel (Optional)
Firstly, you have to install the Laravel application on your system. You can run the following composer command to install the new Laravel application. If you want to use your existing project then you can skip this step.
composer create-project laravel/laravel BarcodeGenerator
Step 2: Install Package
Now, we have to install picqer/php-barcode-generator composer package for barcode generator. Simply run the following composer command.
composer require picqer/php-barcode-generator
Step 3: Create Route
Now we have to create a route for rendering our view file to show the barcode. Let's add the following code in your route/web.php file.
Route::view('barcode-generator','barcode');
Step 4: Create View File
In this step, we have to create a blade file for displaying the barcode. Let's create that file and add the following code in your newly created blade file.
resources/views/barcode.blade.php
<!DOCTYPE html>
<html lang="en">
<head>
    <meta charset="UTF-8">
    <meta name="viewport" content="width=device-width, initial-scale=1.0">
    <meta http-equiv="X-UA-Compatible" content="ie=edge">
    <title>Barcode Generator</title>
</head>
<body>
    <h1>How to create Barcode Generator in Laravel? - Coders Vibe</h1>

    <h3>Product 1: 215487325698 (HTML BarCode)</h3>
    @php
        $generator = new Picqer\Barcode\BarcodeGeneratorHTML();
    @endphp

    {!! $generator->getBarcode('215487325698', $generator::TYPE_CODE_128) !!}


    <h3>Product 2: 000032569845 (PNG BarCode)</h3>
    @php
        $generatorPNG = new Picqer\Barcode\BarcodeGeneratorPNG();
    @endphp

    <img src="data:image/png;base64,{{ base64_encode($generatorPNG->getBarcode('000032569845', $generatorPNG::TYPE_CODE_128)) }}">

    @php
        $generatorJPG = new Picqer\Barcode\BarcodeGeneratorJPG();
        file_put_contents('barcode.jpg', $generatorJPG->getBarcode('316497852852', $generatorJPG::TYPE_CODABAR));
    @endphp

    <h3>Product 3: 316497852852 (JPG BarCode)</h3>

    <img src="{{ asset('barcode.jpg') }}">

    @php
        $generatorSVG = new Picqer\Barcode\BarcodeGeneratorSVG();
        file_put_contents('barcode.svg', $generatorSVG->getBarcode('976134987259', $generatorSVG::TYPE_KIX));
    @endphp

    <h3>Product 4: 976134987259 (SVG BarCode)</h3>

    <img src="{{ asset('barcode.svg') }}">
</body>
</html>
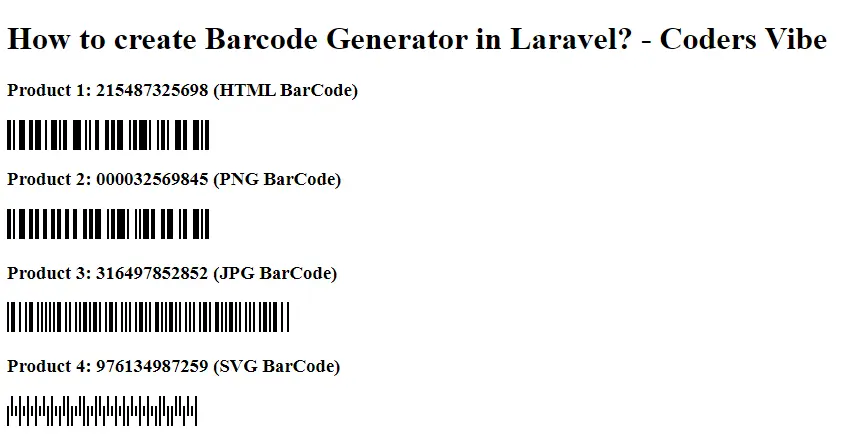
Now you can run your application to see your barcode generator.
Preview:

I hope it will help you.
Happy Coding :)


